DTS Explorer
DTS Explorer is the builder and editor of digital twin scenes in the DTS platform.
Installing and Launching
This chapter describes how to install and launch the Explorer.
Installing
The Explorer installation process.
Operating steps
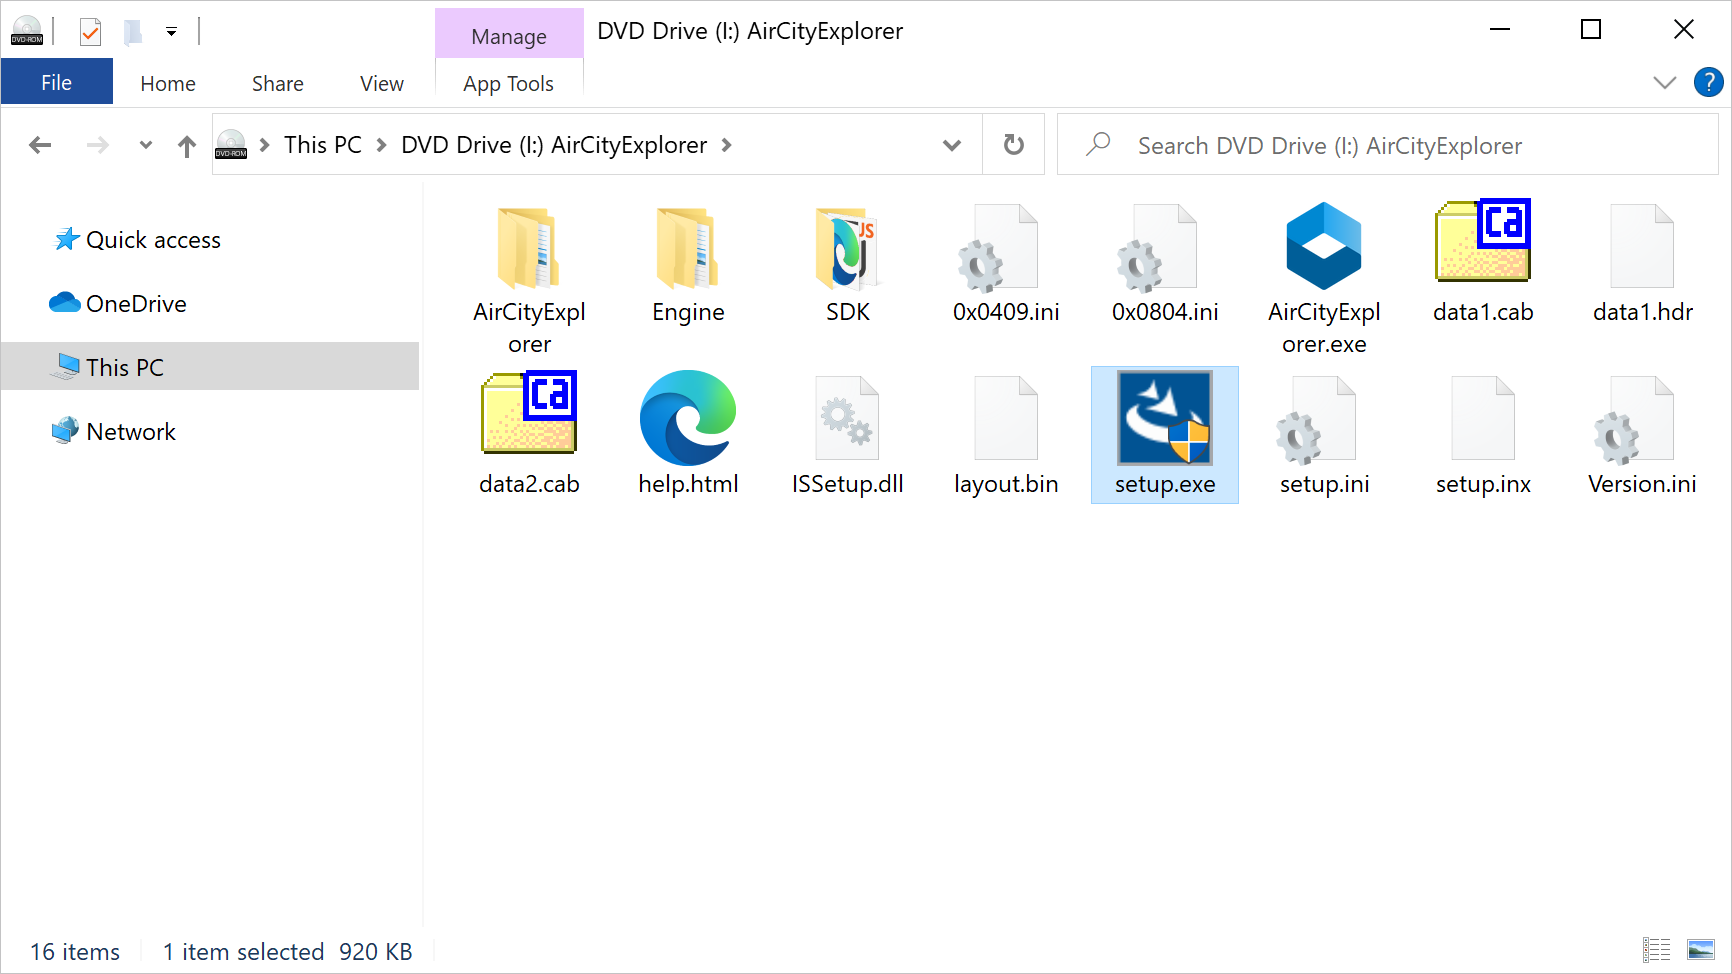
Open the Explorer.ISO image file, and run the "Setup.exe" program to enter the installation wizard.
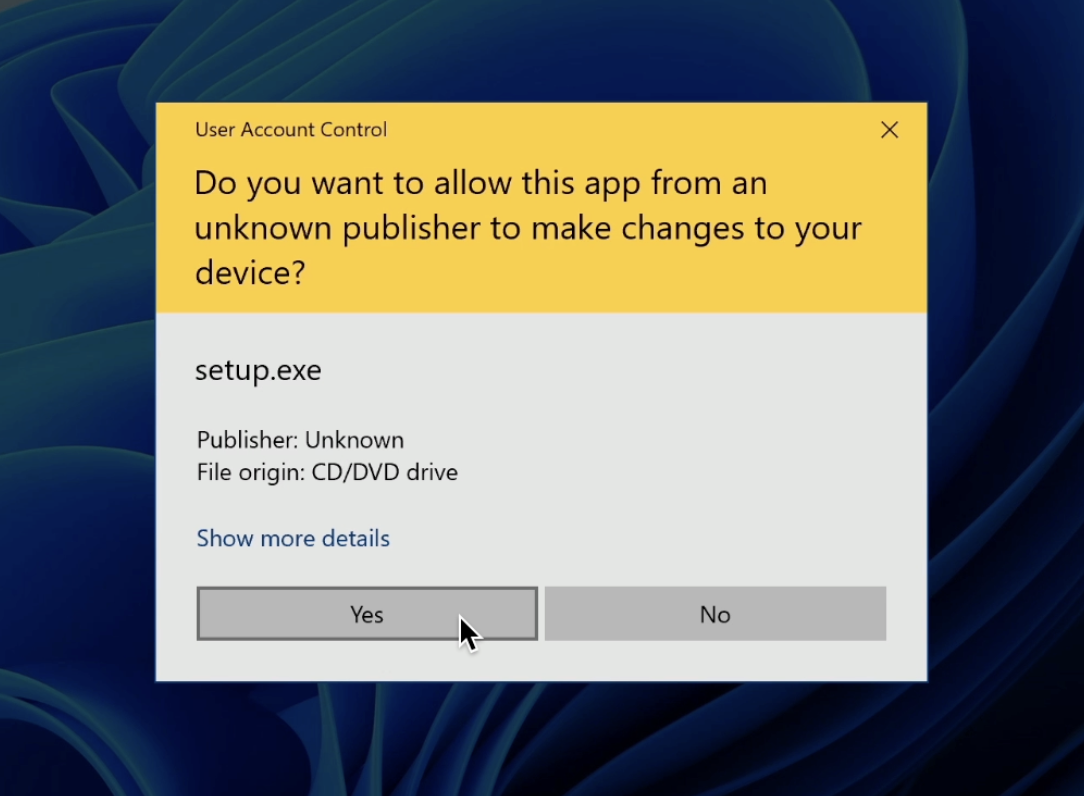
If a system prompt appears, click "Yes". If not, skip this step.
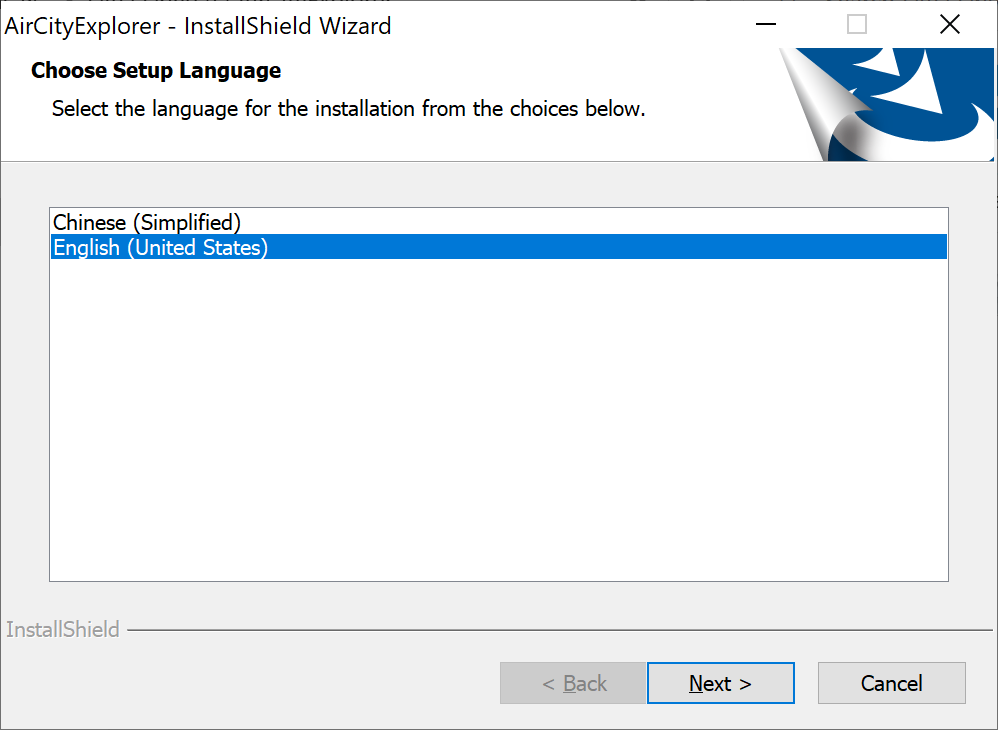
Choose the installation language and click "Next".
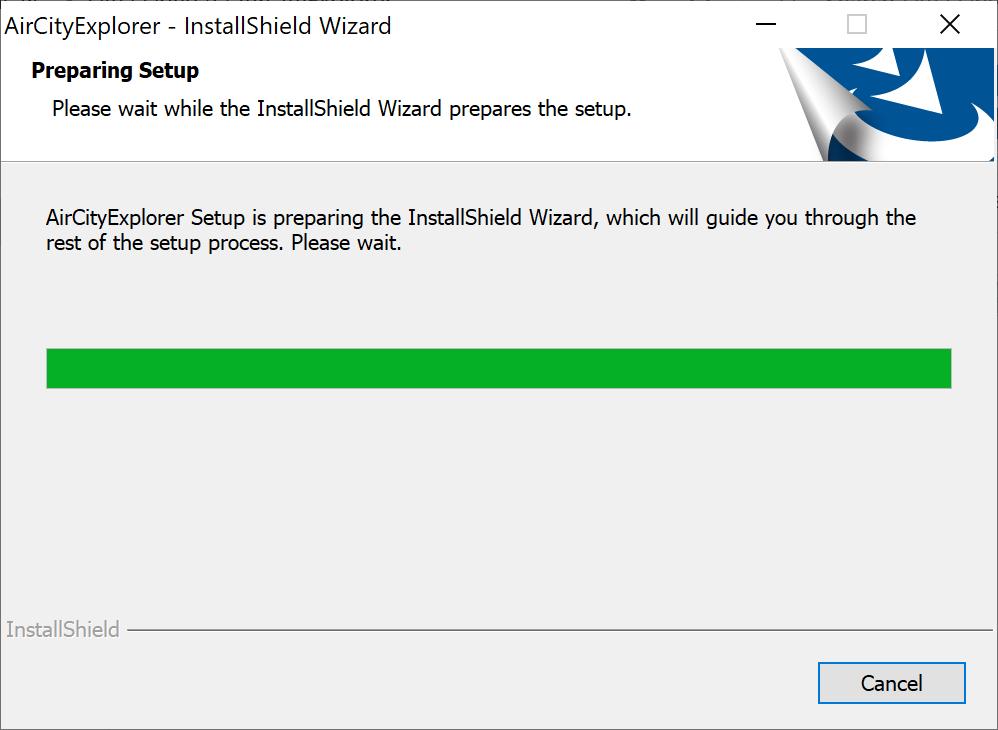
After a short preparation progress, enter the installation welcome page.
Click "Next" and enter the license agreement page.

Please read the End User License Agreement carefully. If you agree to the agreement, click "Yes". If not, click "No" to end the installation.

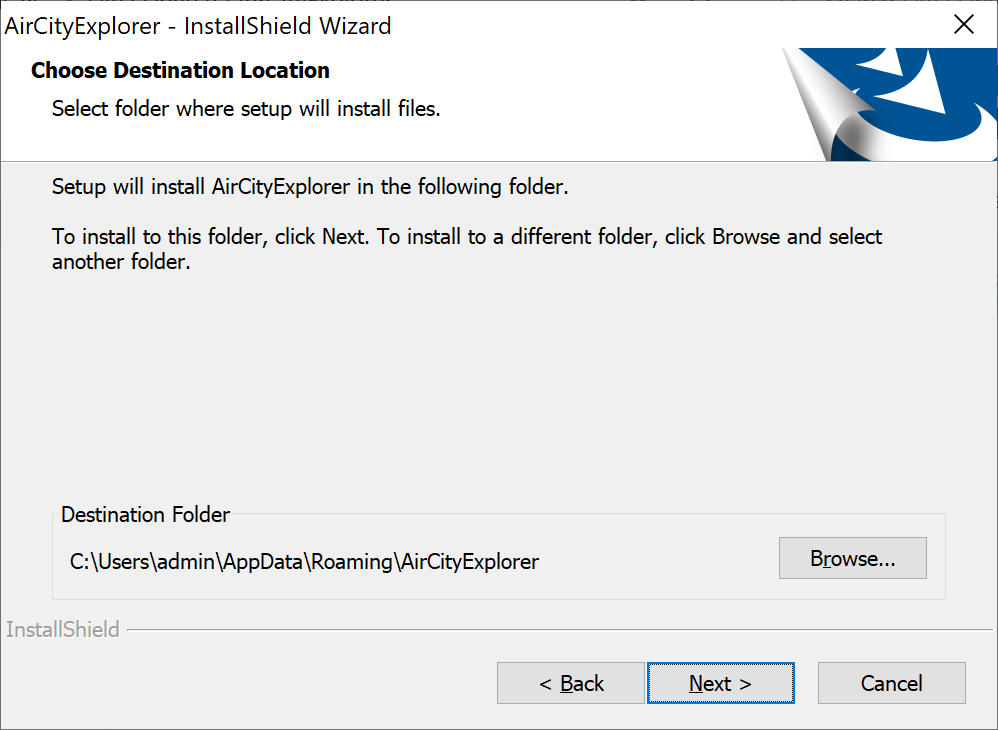
Set the installation location. If you are installing to the default path, click "Next". If installing to another path, click "Browse" and select another folder.
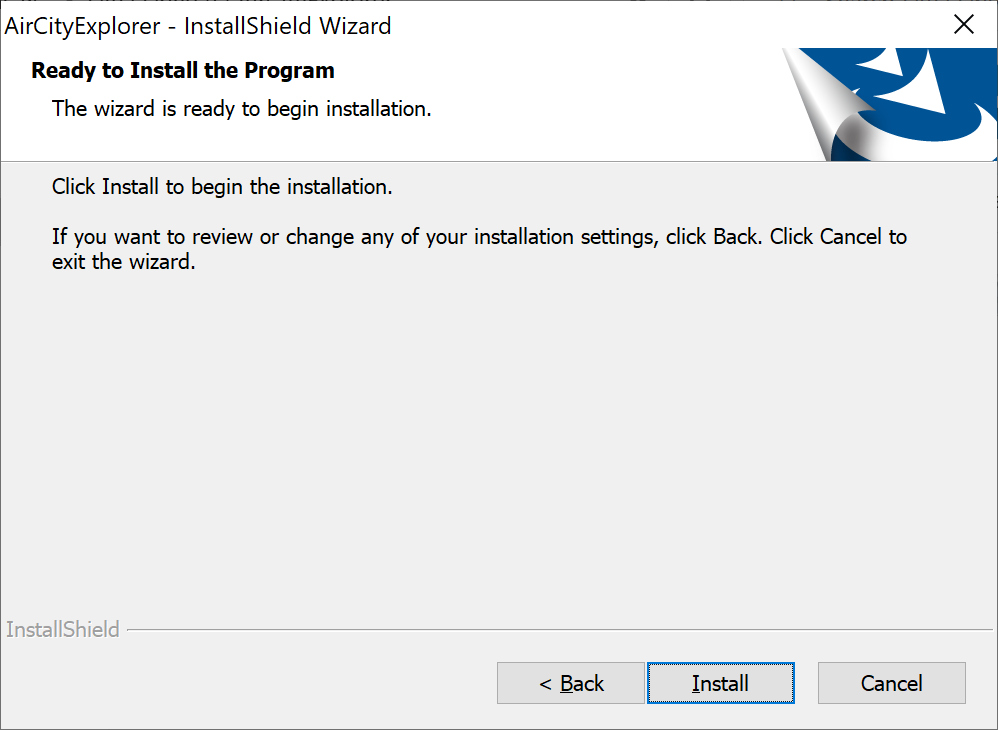
Click "Install" to start the installation.
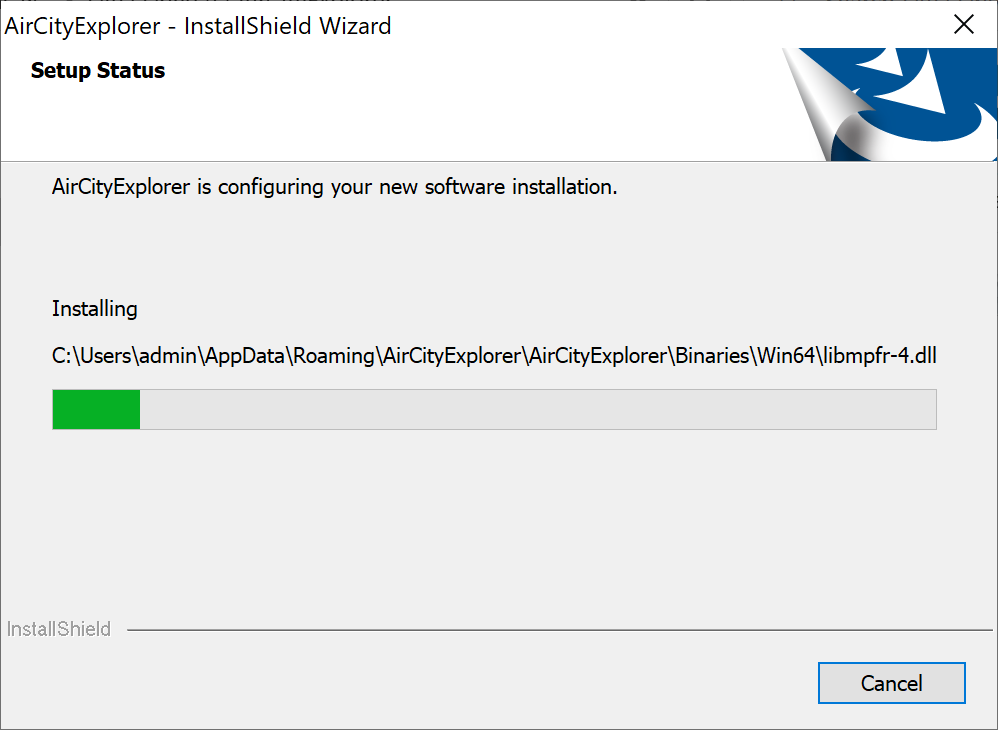
The installation process will take several minutes.
When the installation is complete, the completion page appears. Click "Finish" to finish the installation of the Explorer.

After finishing the installation, the Explorer shortcut will be added to the Start Menu and Desktop of your computer.
Licensing
Launching and using DTS platform requires installing hardware or software license and running the CodeMeter service.
Running the program without the hardware encryption lock will pop up an error message.
Note: To obtain the hardware encryption lock, please contact the relevant department of Freedo Technology or apply on the official website of DTS.
Launching
Double-click the Explorer shortcut to launch the program.
Quick Guide
This chapter describes the basic usage of the Explorer.
Homepage Interface
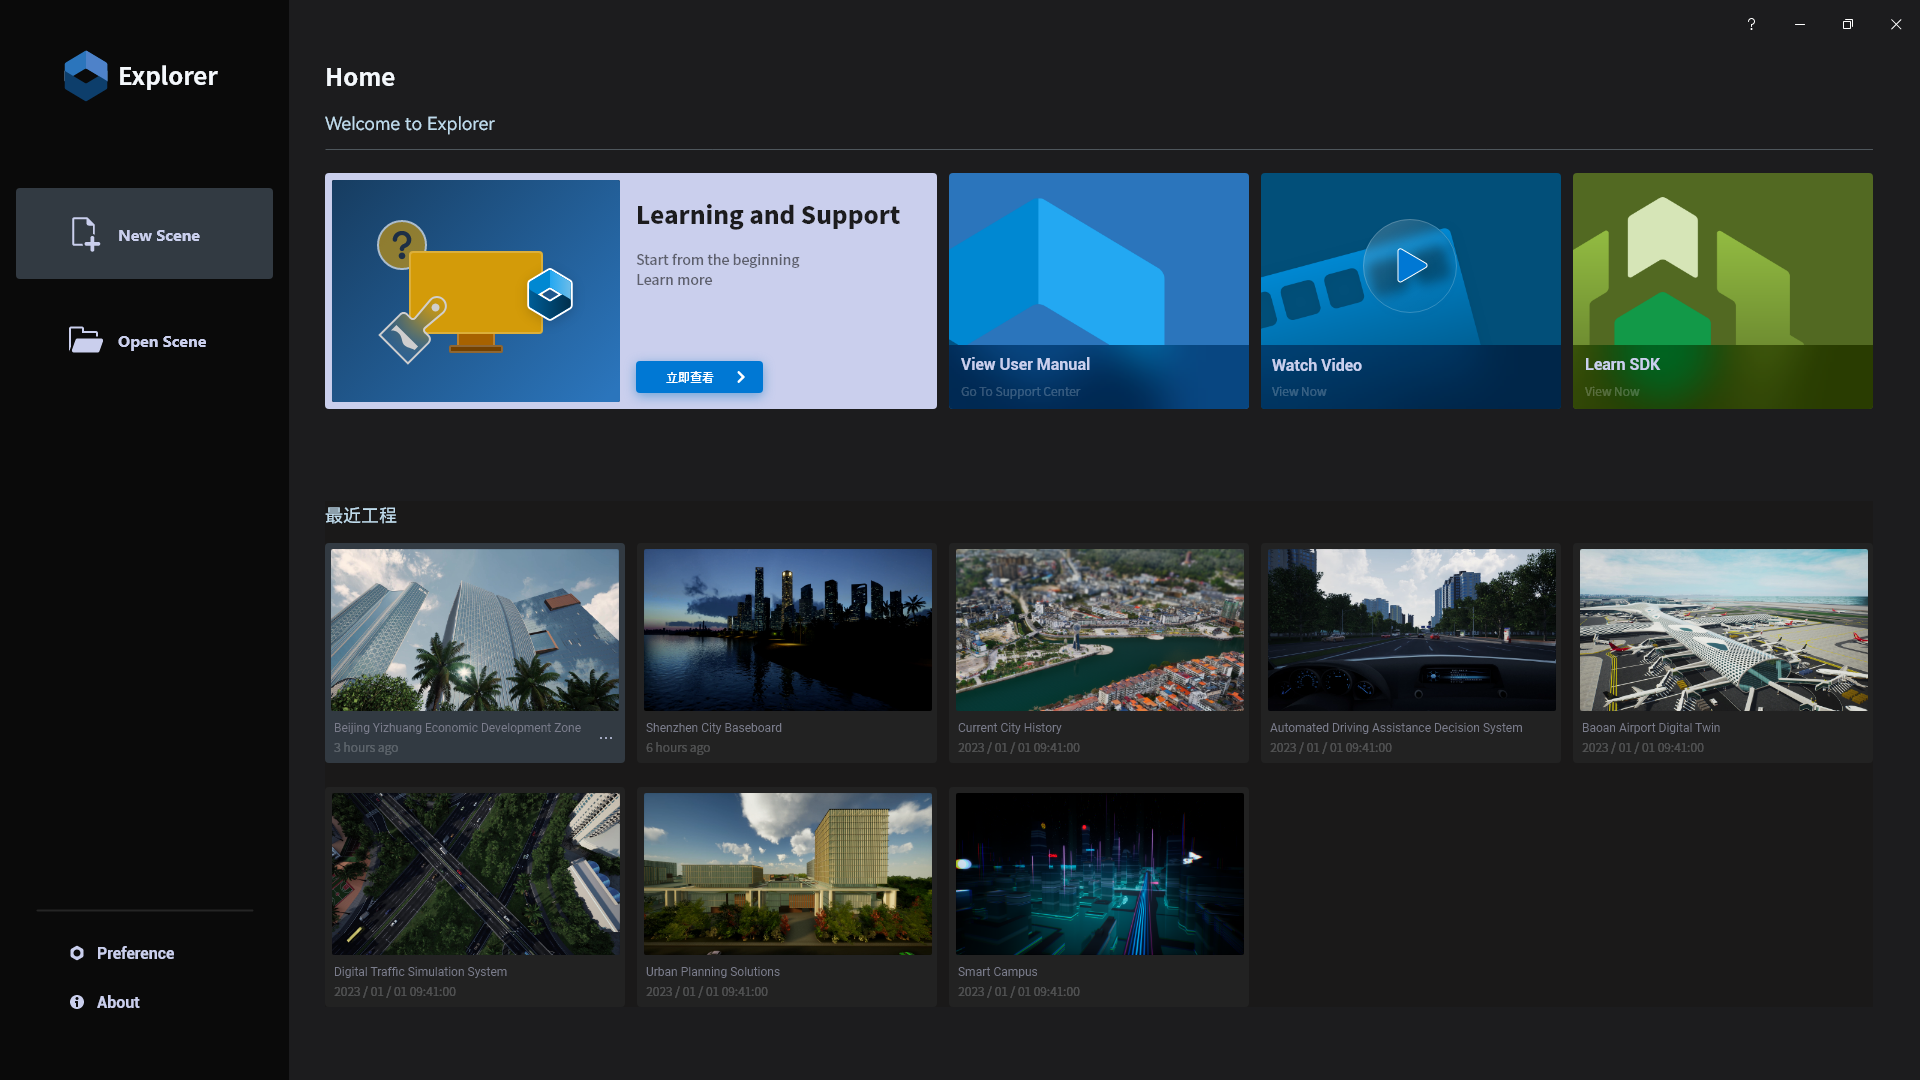
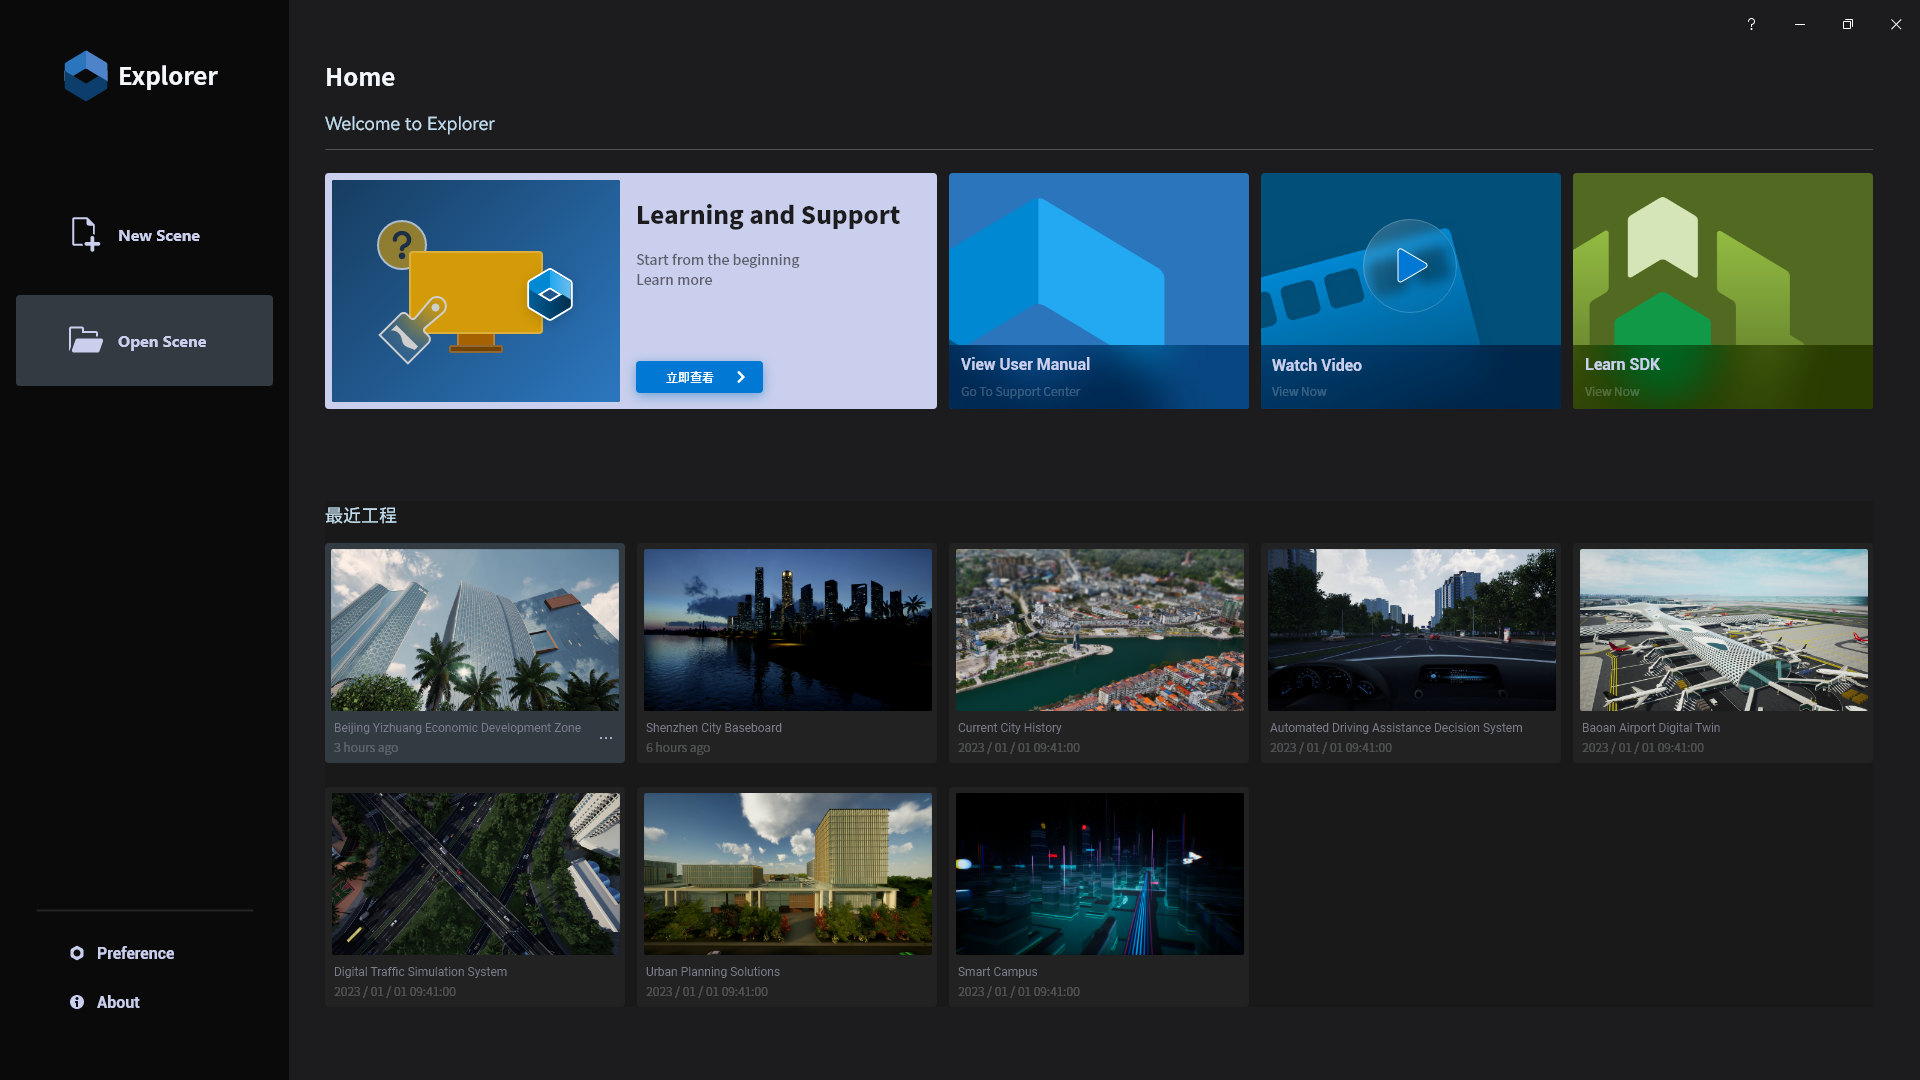
After launching the Explorer, the homepage is displayed first.
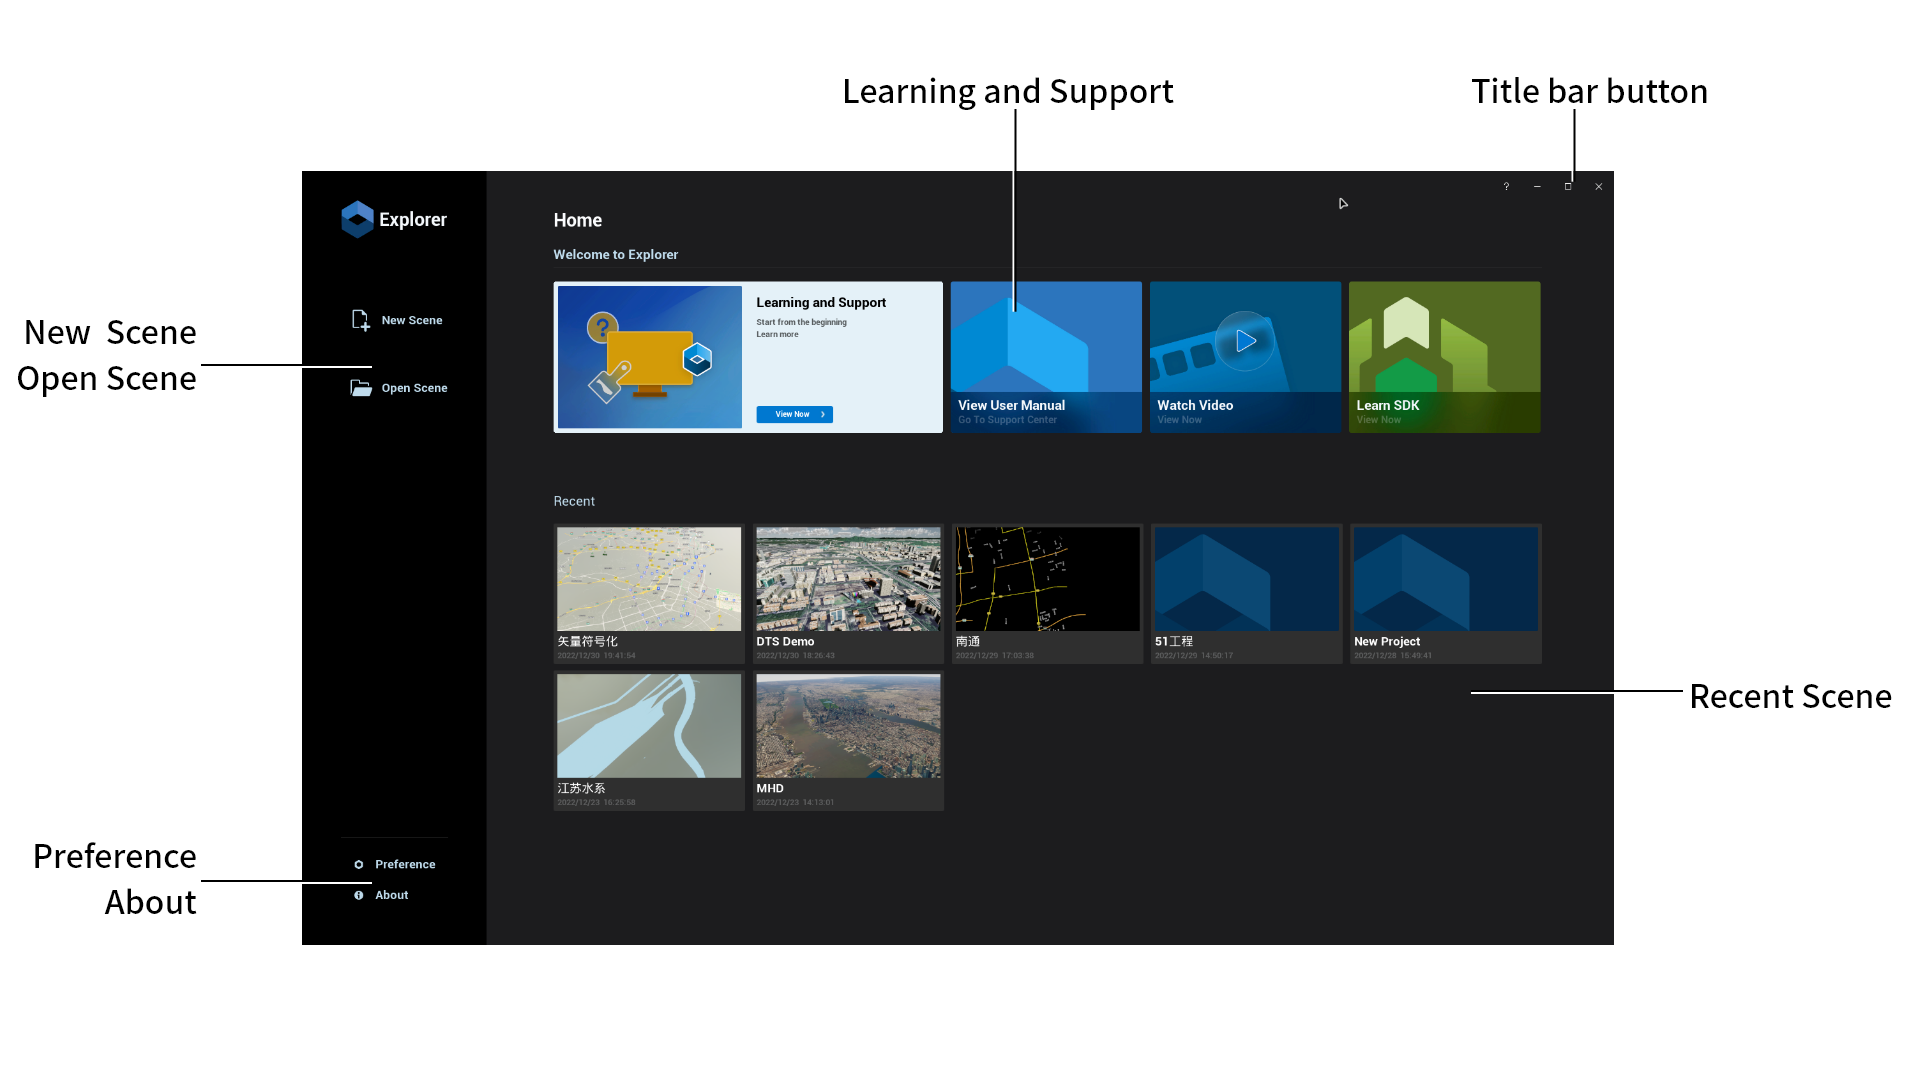
New / Open Scene
Create a new scene, or open a created scene. You can also quickly open a scene from the "Recent".
Welcome to Explorer
Contain links to learning support and user manual. You can quickly access the content with a click.
Recent
"Recent" can record the last 10 scene records. Hover over the scene thumbnail to view the full name and storage path.
Preference
Set scene automatic backup, library path and hotkeys of the Explorer.
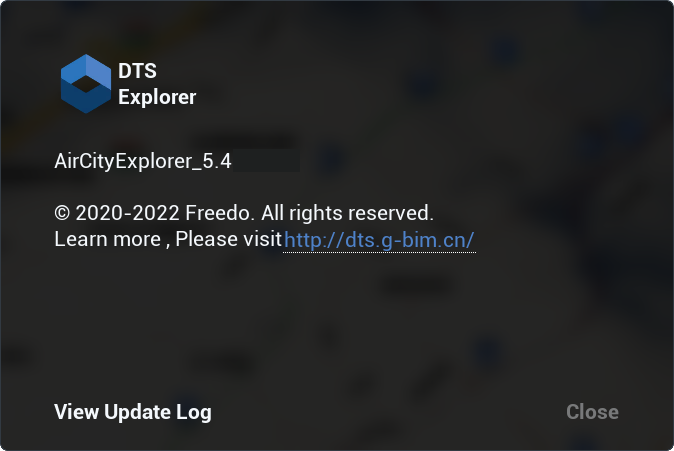
About
View the version, update log, and more of the Explorer.
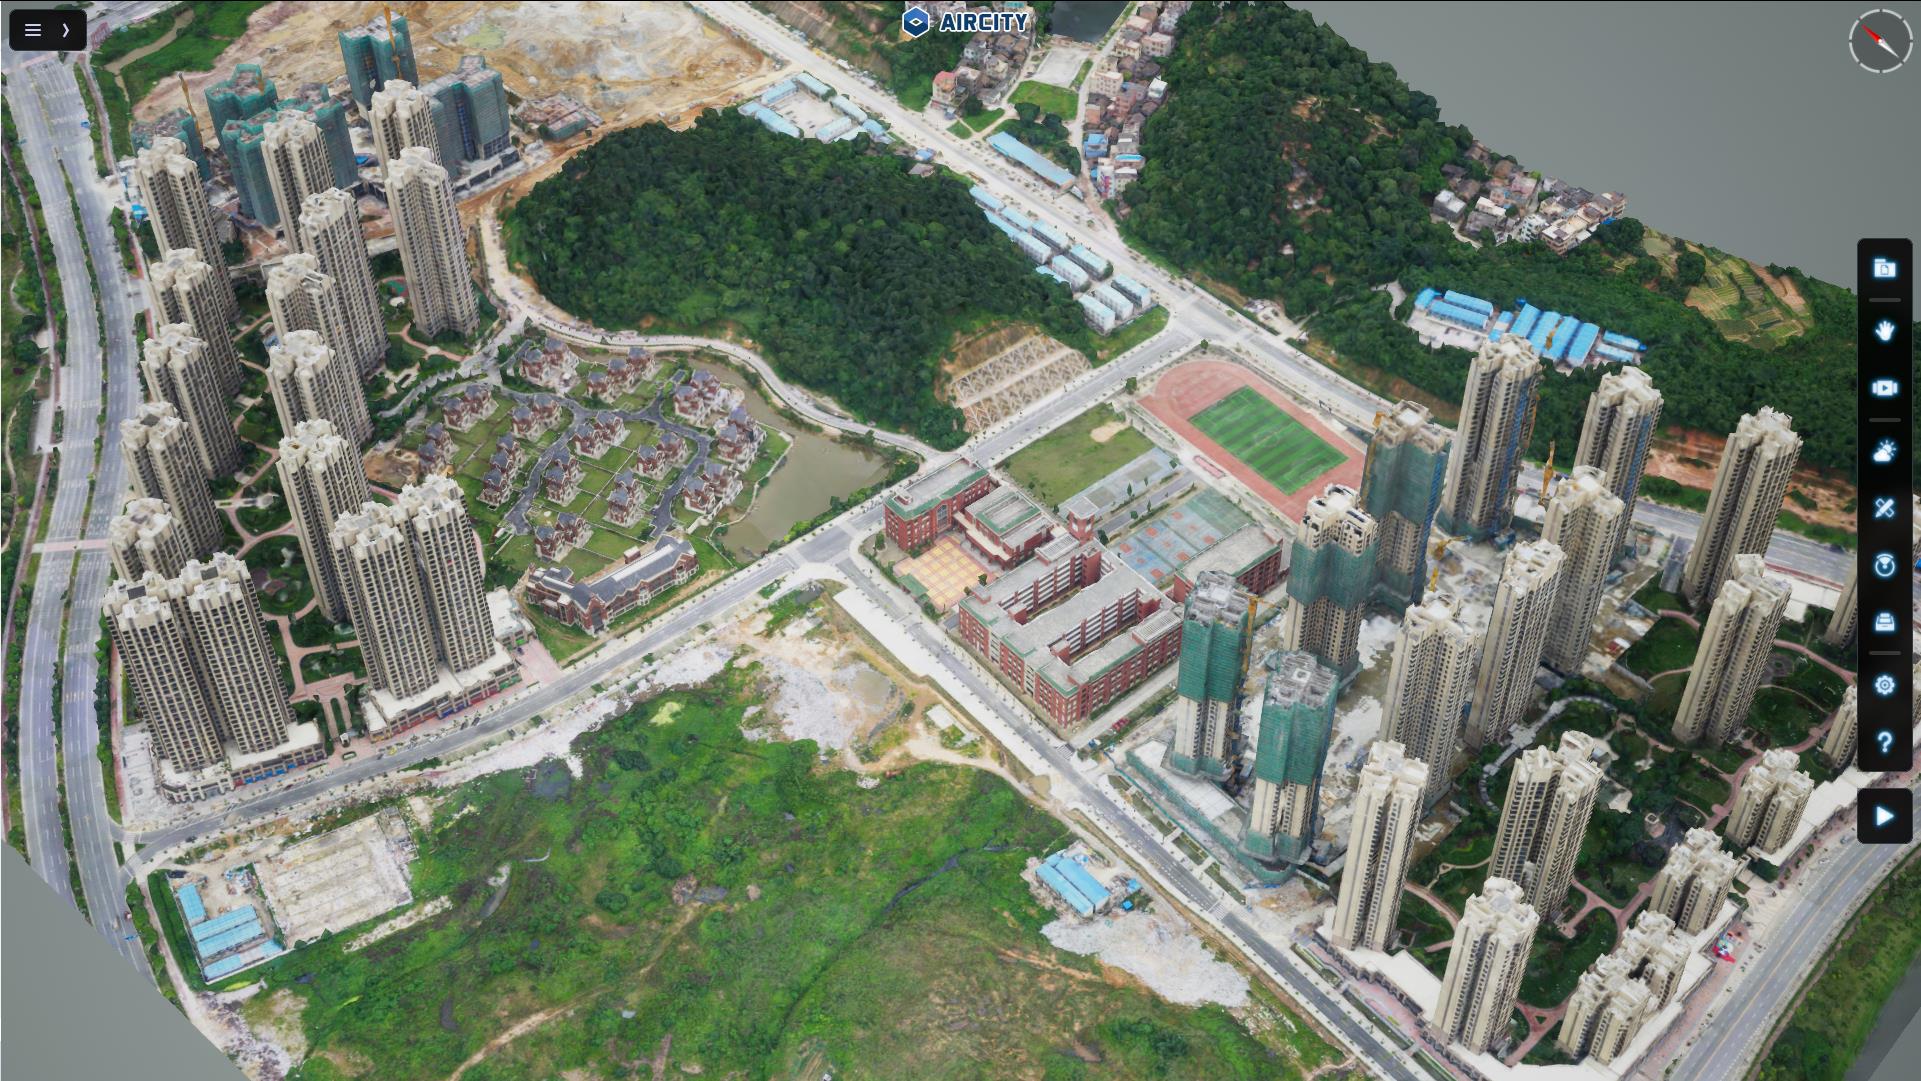
Operation Interface
The interface of the Explorer includes "Manager", "Toolbar", "Function Panel", "Scene Viewer", "Compass" and other contents.
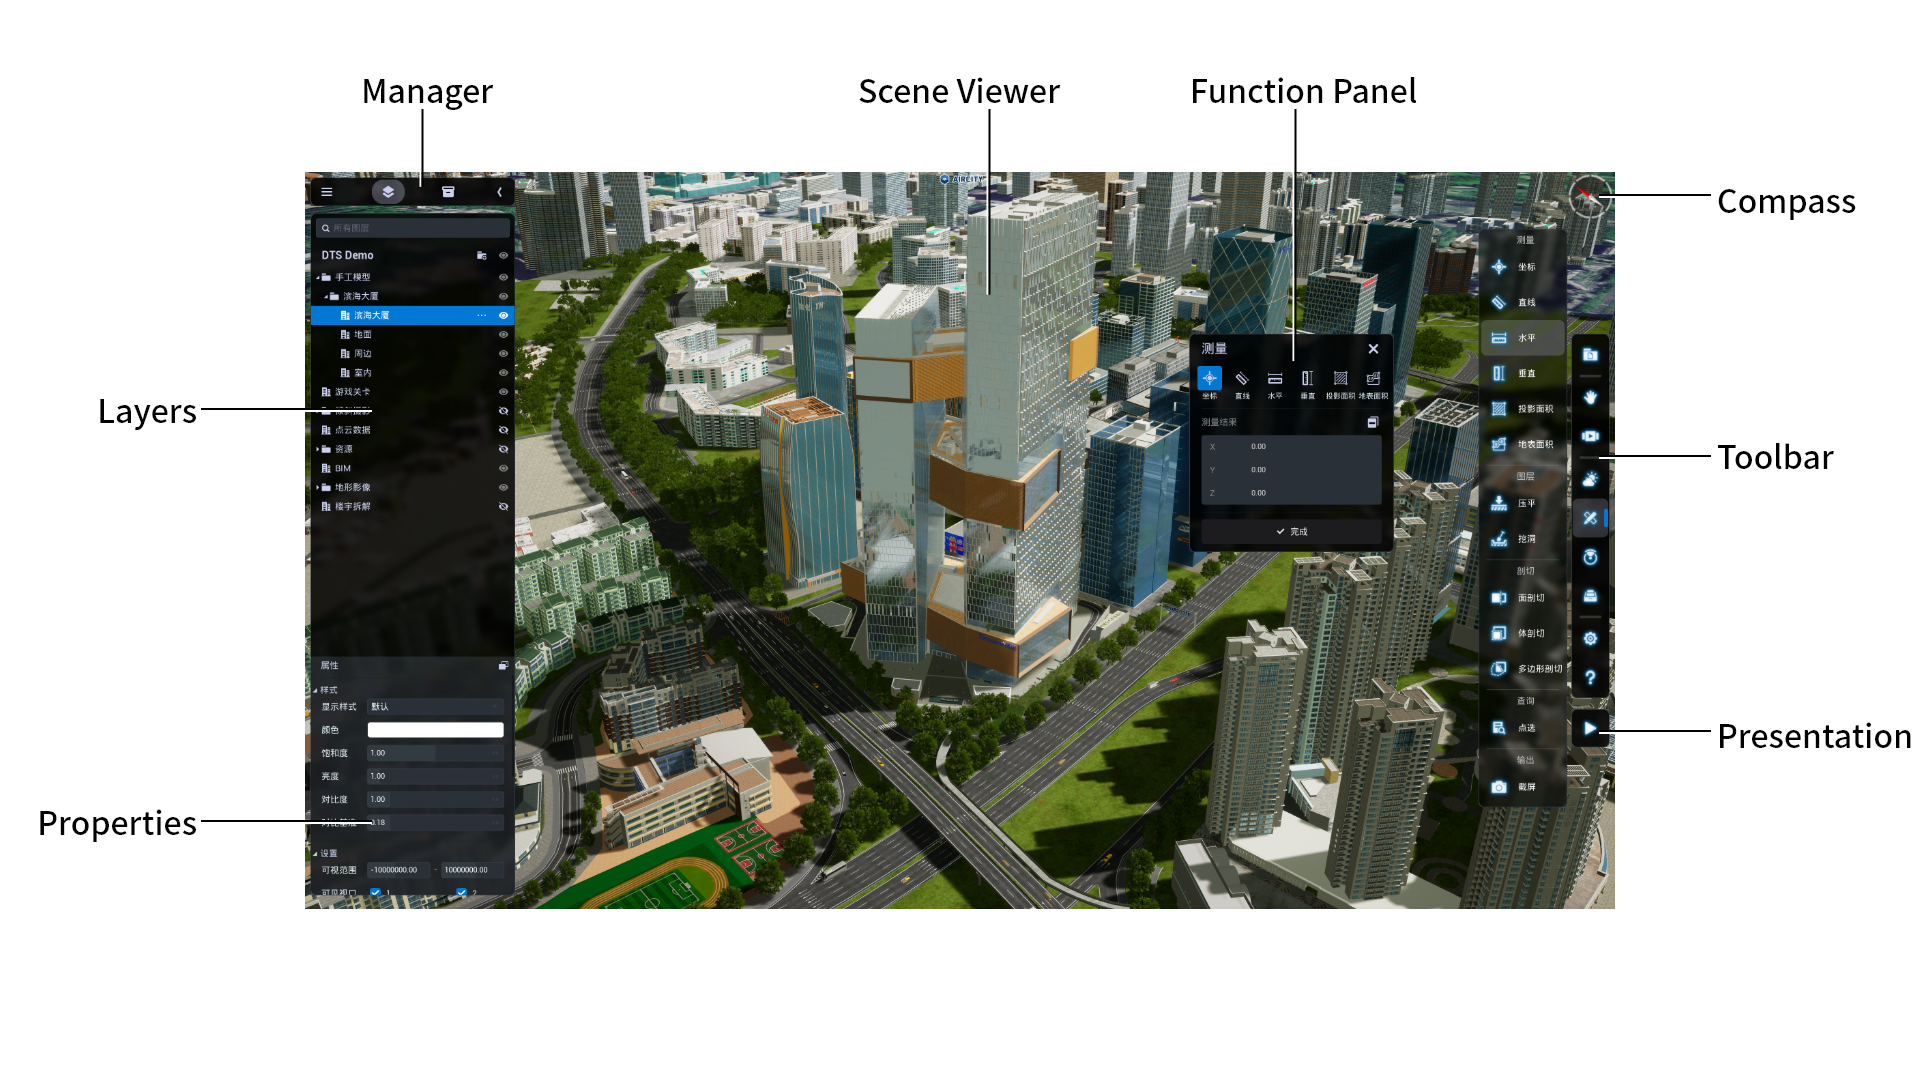
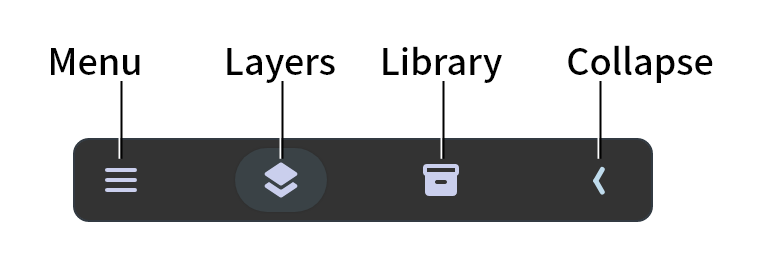
Manager
The "Manager" mainly includes "Laters" and "Library" two parts, click on the button to switch. The "Menu" includes operations of "Scene", "Preference" and "Help". The "Collapse Button" can expand or collapse the Layer Panel.
Toolbar
The "Toolbar" is a collection of tools. Each "Tool" represents a category of function menu.
Function Panel
The "Function Panel" contains the functions and parameters of the tools. The contents of panel are automatically adjusted depending on the tool.
Compass
The "Compass" is a tool for indicating direction. The red pointer points to the geographical North Pole and the white pointer points to the geographical South Pole.

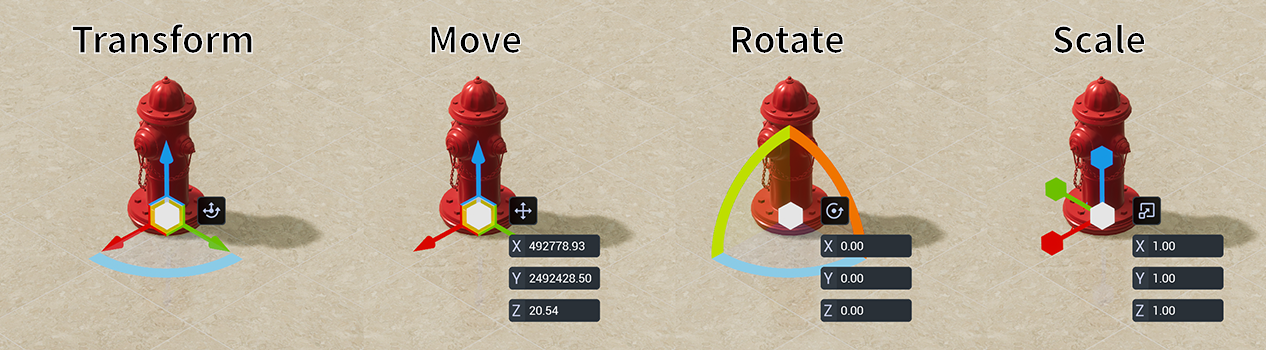
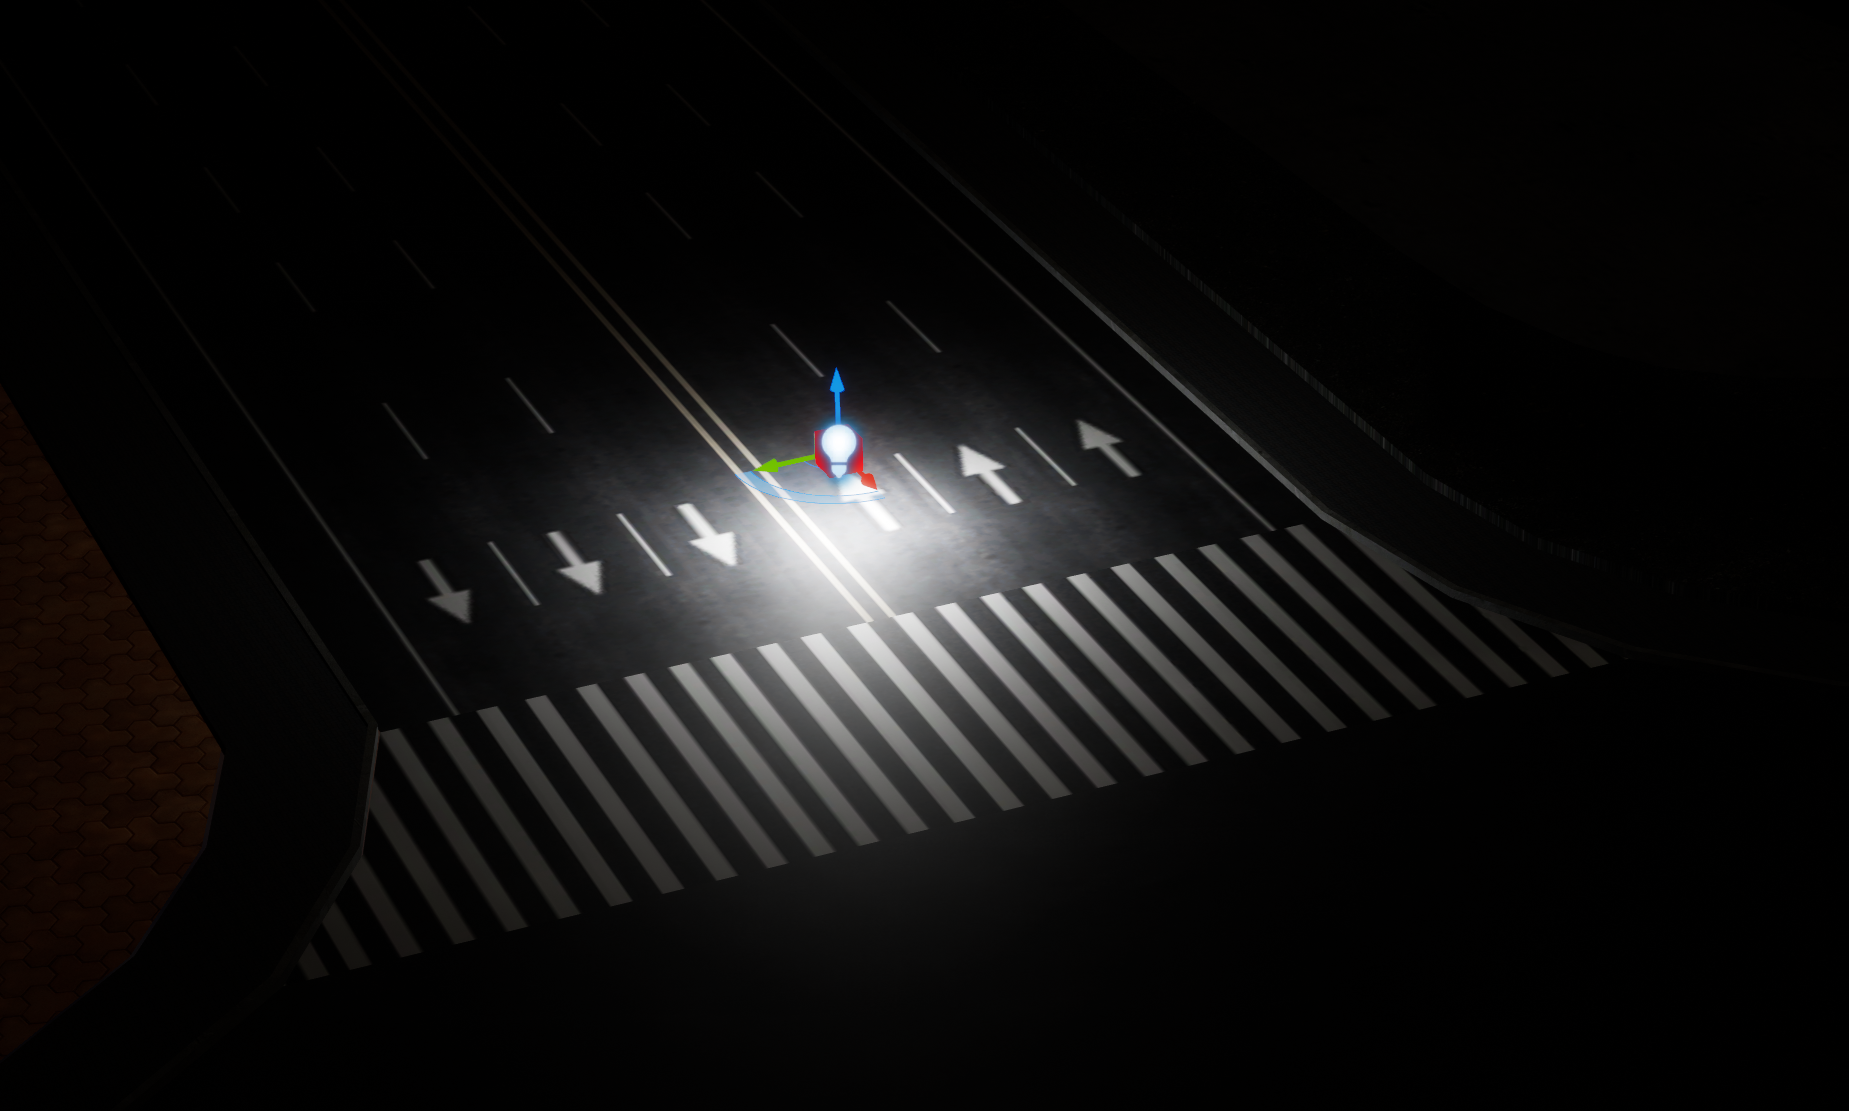
Transform Tool
Edit the position, rotation, and scaling of the objects.
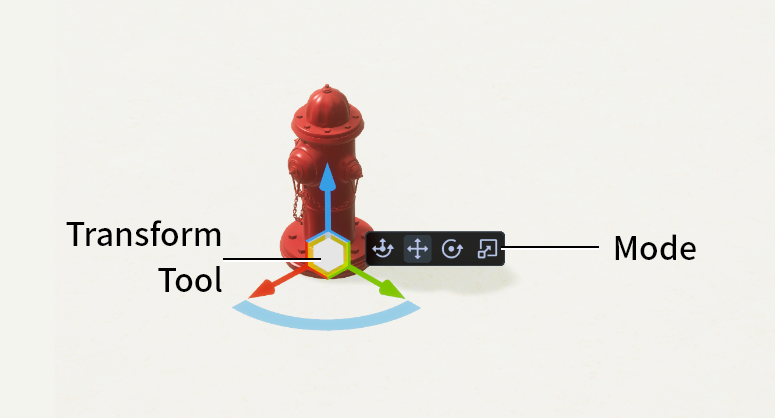
The Transform Tool has four modes, Comprehensive, Move, Rotate and Scale.
Configure Library
Configure PAK files to use various resource objects in the Library.
Operating steps
Launch the Explorer and click "Preference" in the bottom left corner of the homepage.
Click the "General" tab in the "Preference" panel.
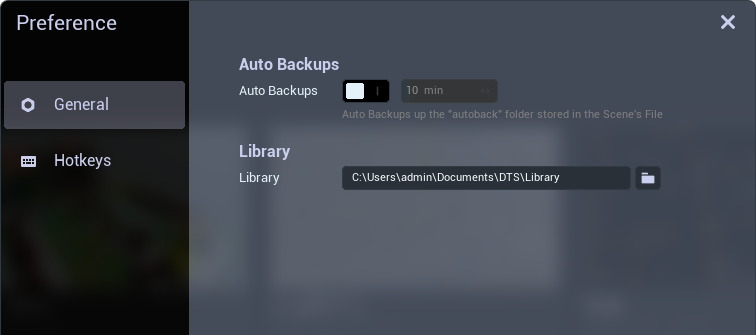
Set the storage path of the PAK files in the "Library".

Close the "Preference" panel.
New Scene
Create a new scene with an ACP file.
Operating steps
Launch the Explorer, and "New Scene" appears on the left side of the homepage.
Click "New Scene", or click "Scene" > "New" in the already opened scene.
The "New Scene" panel displays.

Enter the "Name" of the scene.
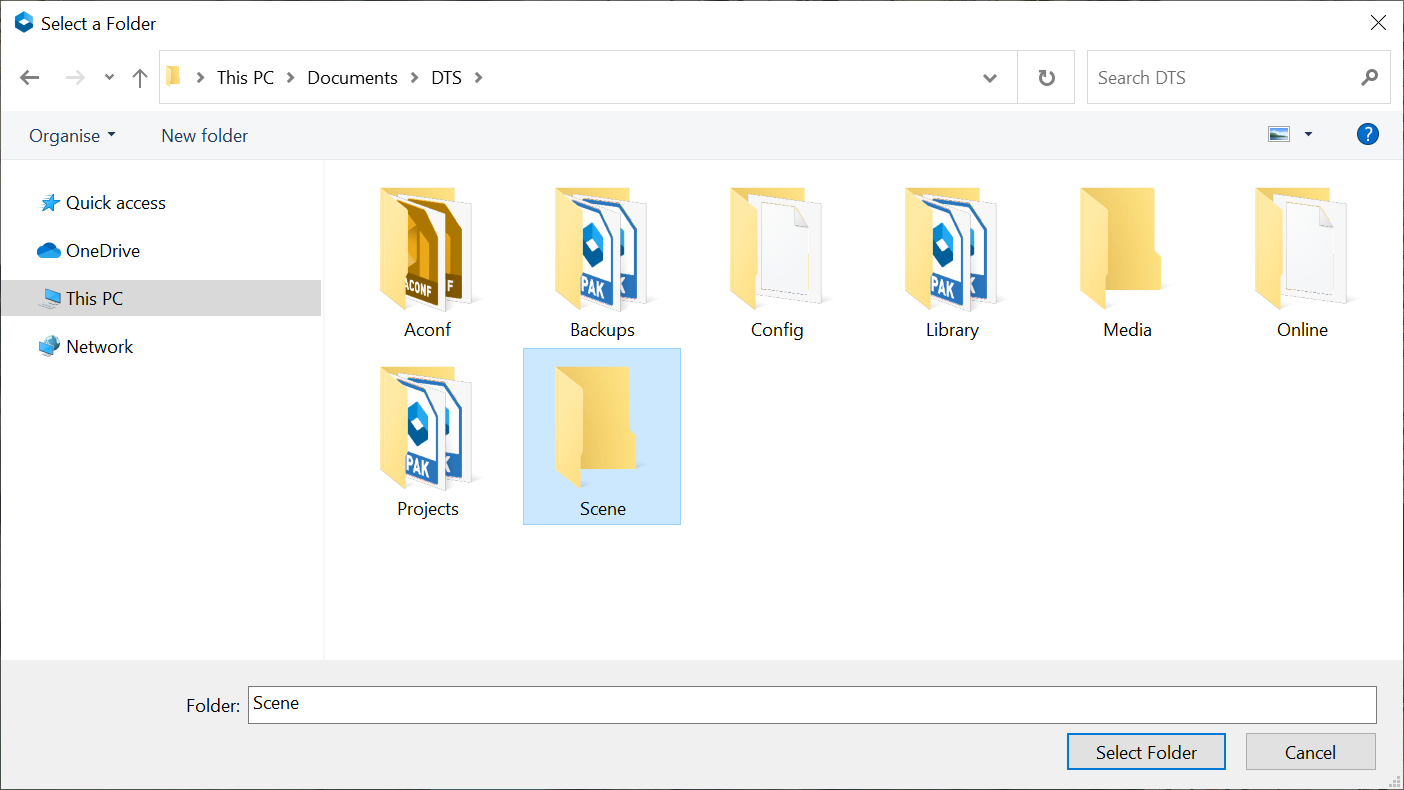
Select a folder to set the "Path" for the scene.
Select a coordinate system from the “Coordinate System” drop-down menu, or click "Import PRJ" to import a PRJ file.
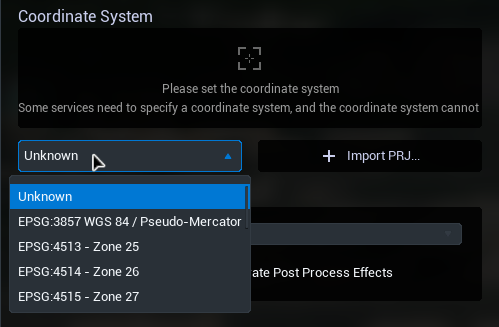
Note: The DTS platform currently only supports Projected Coordinate System (PCS). The drop-down menu only lists common PCSs, the other PCS can be set by importing the PRJ file.
Set the "Adv Settings" as needed. You can select the "Sky System" type and enable the "Generate Post Process Effects" of the scene.
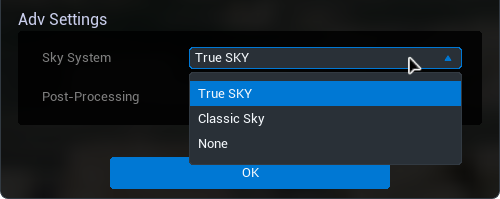
Click “OK” to finish creating the scene.
Open Scene
Open the scene with the created ACP file.
Operating steps
Launch the Explorer, and "Open Scene" appears on the left side of the homepage.
Click "Open Scene", or click "Scene" > "Open" in the already opened scene.
Find the ACP file that needs to be opened.
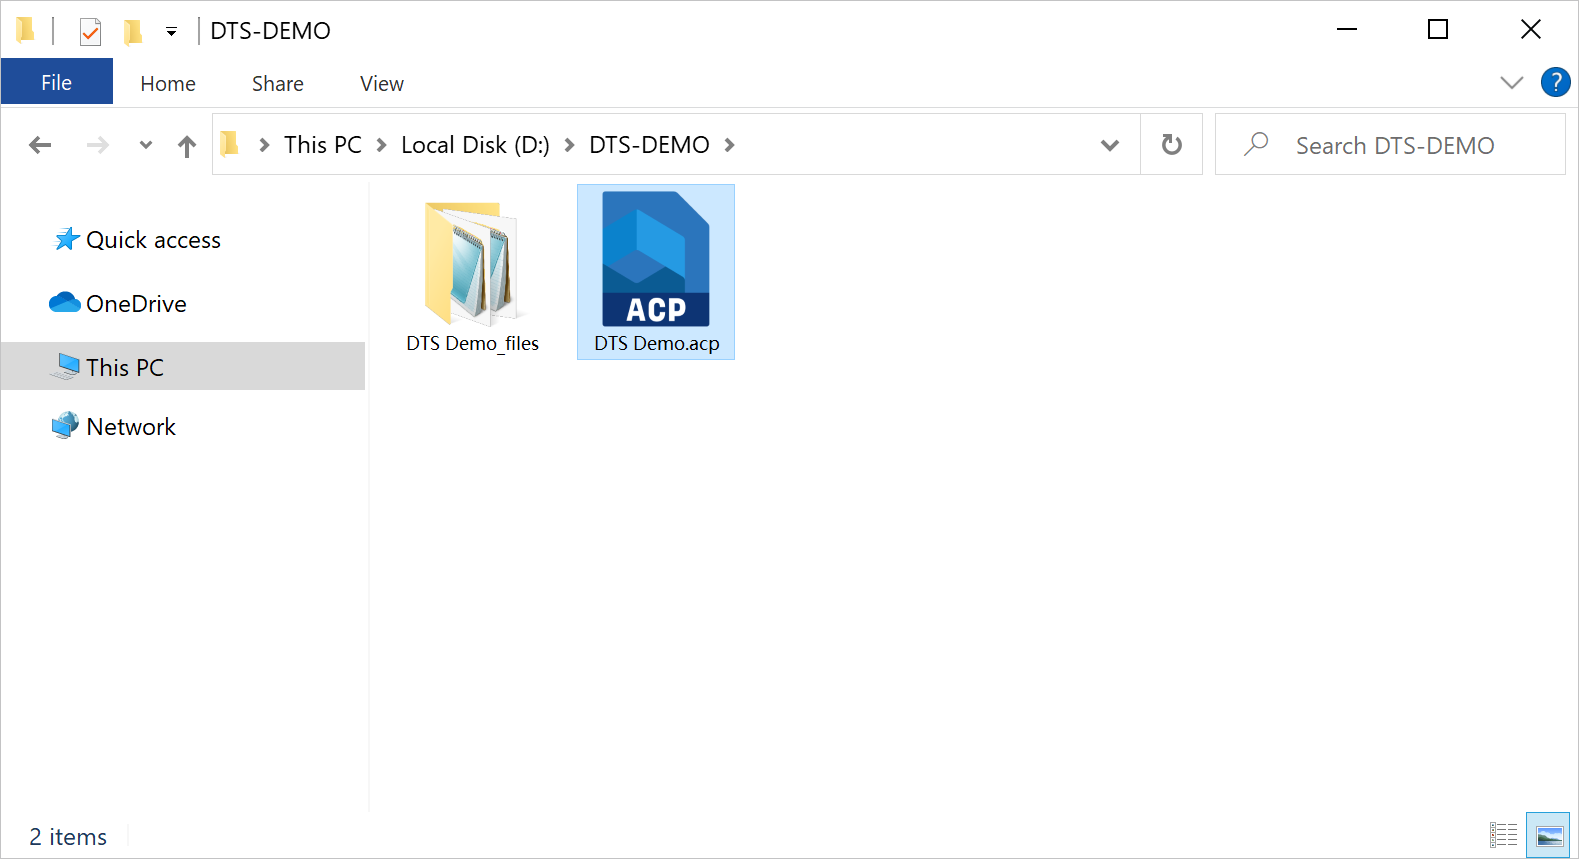
Select the ACP file and click "Open".
Import Data
Import data in different formats.
3DT
Import 3DT files.
Operating steps
Click "Scene" > "3DT" in the already opened scene and find the 3DT files that need to be imported.
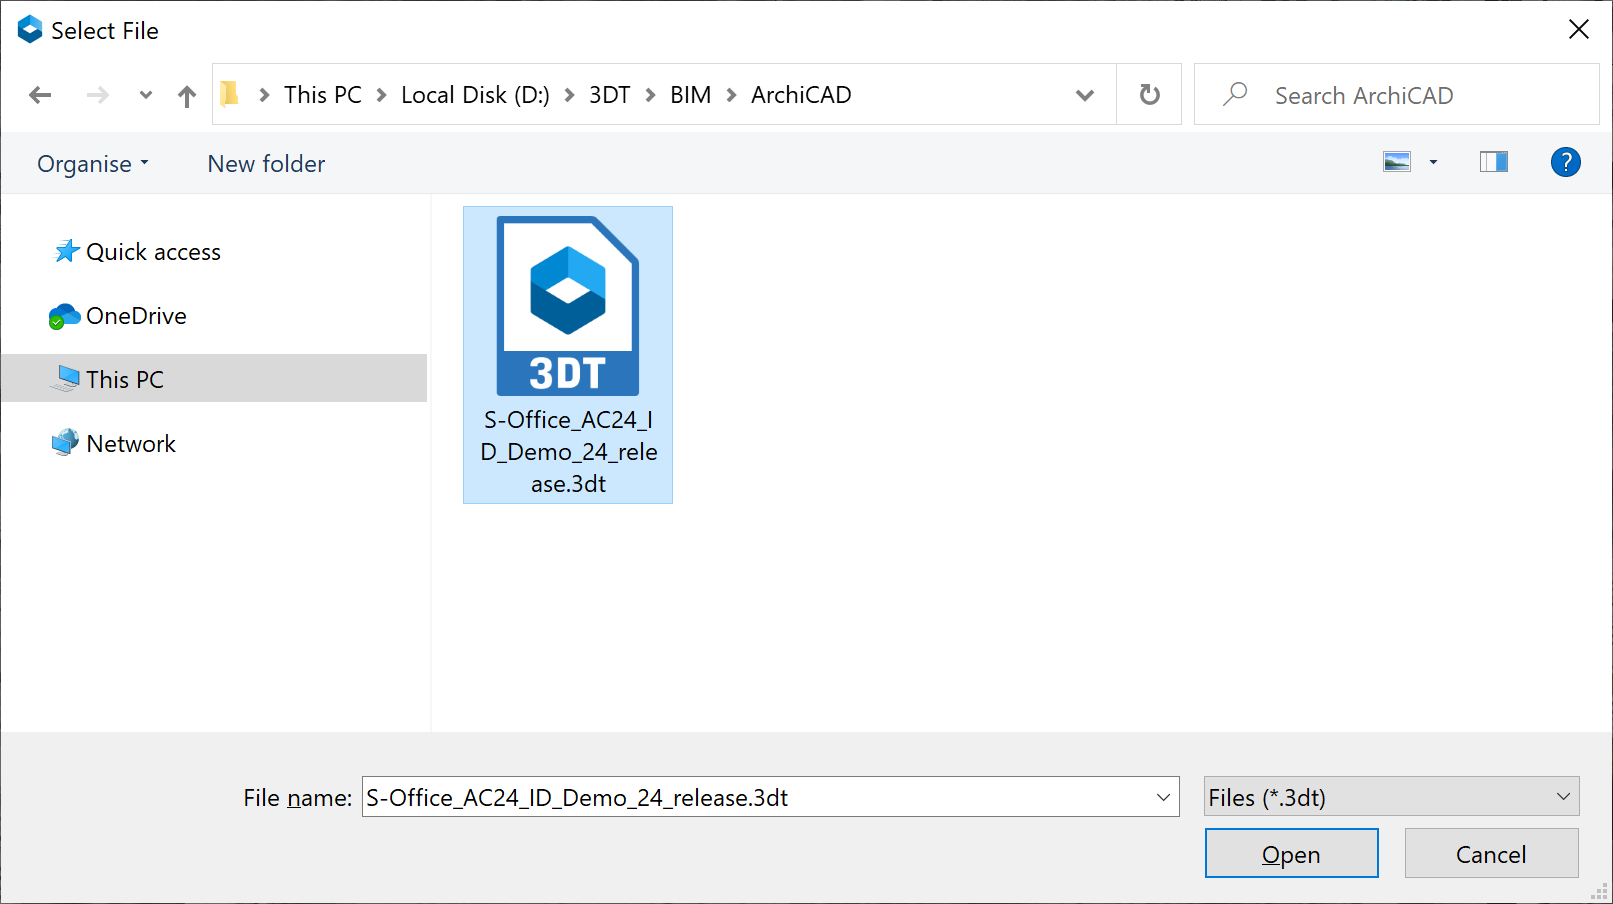
Select the 3DT files and click "Open". The "Import 3DT" panel displays.

Note: You can import multiple 3DT files in batches.
Set the "ID", "Transform" and "Adv Settings" of the 3DT files as needed.
Click "Import", the imported 3DT files will be displayed in the Layer Panel as layers.
3DTiles
Add 3DTiles service. Before adding, you need to set the "Coordinate System" when creating a new scene.
Operating steps
- Click "Scene" > "3DTiles" in the already opened scene and the "Add 3DTiles" panel displays.
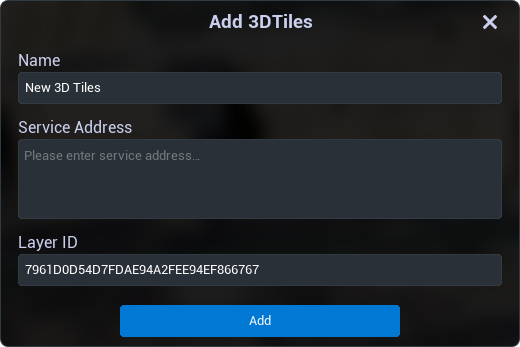
Set the "Name" of the service.
Enter the URL of 3D Tiles service in the "Service URL".
Set the “Layer ID” and click "Add".
The imported 3D Tiles service will be displayed in the Layer Panel as a layer.
Layer
Perform "Layer Management" and "Property Management" operations on layers in the Layer Panel.

Layer Management
Manage the frame of the Layers, including operations such as layer search, new folder, layer show/hide control, layer focus, layer rename, layer delete, etc.
Property Management
Manage the properties of layers, including operations such as style setting, visibility range setting, viewport setting, operate setting, unhide all Actors, transform setting, data source setting, etc.
Note: The content in the Properties panel varies depending on the type of layer you select.
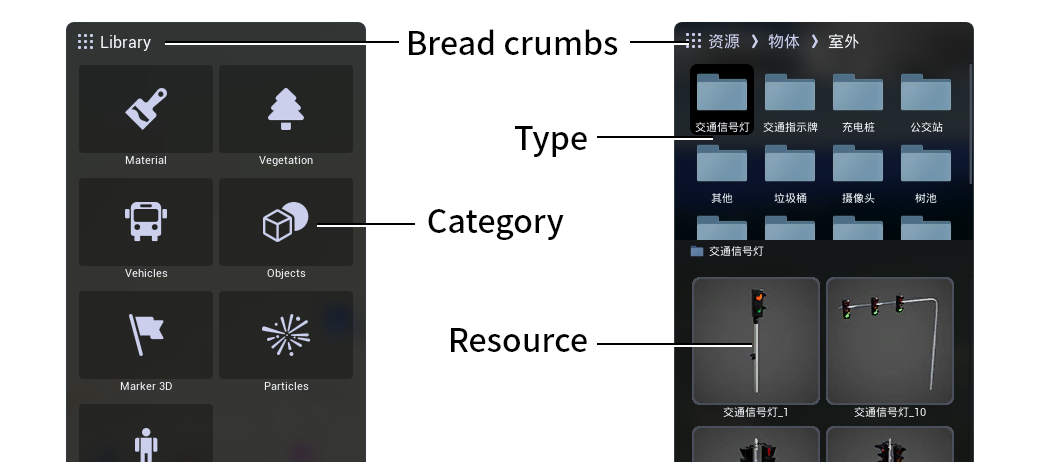
Library
Browse and use resource objects within the PAK file in the Layer Panel.
The resource types of the Library include Material, Vegetation, Vehicle, Object, Marker 3D, Particle and Character resource. After selecting different types of resources, the corresponding function panel displays automatically to create and edit the resource objects. The Object, Marker 3D, Particle and Character resource objects can be directly created by dragging them into the scene.
Interaction
Set the roaming interaction mode.
Five interaction modes can be set: "Roam", "Focus", "Drone", "Character" and "Map", and the current interaction mode is displayed in the toolbar. The default is "Roam" mode, which is used to roam freely in the scene, allowing you to navigate the scene at any height and from any viewpoint, and supports both mouse and keyboard control.
Function Module
This chapter introduces the functional modules of the Explorer.
Camera Tour
Create camera tours by selecting several scene views to shoot keyframes and connecting them in series. Animations created in "Camera Tour" can be played in "Presentation" mode.

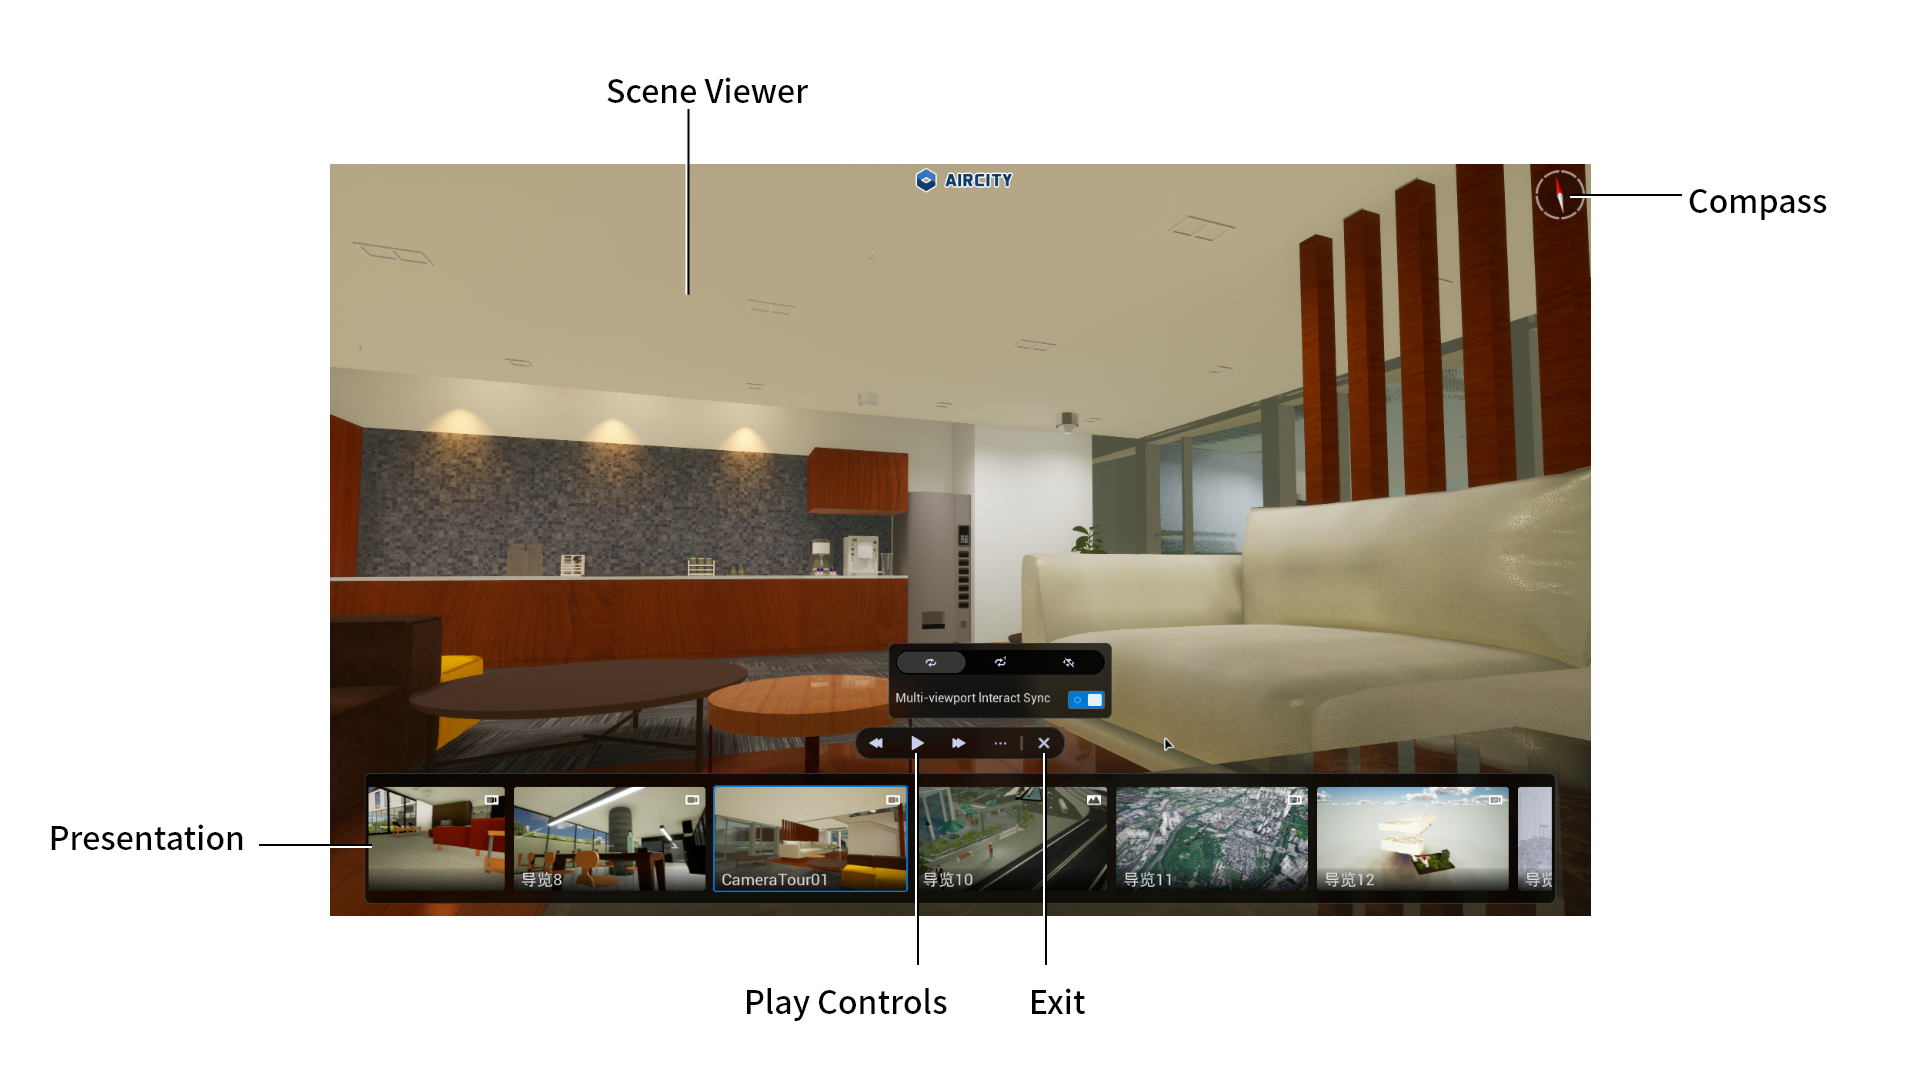
Presentation
"Presentation" is a mode for reporting and presentation.
When you enter the Presentation mode, the "Manager", "Layer Panel" and "Toolbar" of operation interface will be hidden. In the Presentation panel, all the created camera tours are displayed.

Environment
Environment
Set the parameters of the environment effect, including time, light, sun, moon, cloud, fog, weather, ocean, etc.
Effect
Set parameters of the scene effect, including contrast, saturation, floodlight, AO, LUT, filter, etc.
Camera
Set parameters of the camera, including horizontal view, halation, dark corner, DOF, etc.
Tools
Measurement
Measurement tools include coordinate measurement, distance measurement, horizontal measurement, vertical measurement and area measurement.
Layer
Make flattening modification and dig holes for topographic and tilt photography layers.
Clip
Clip and observe in the scene, including plane clip, volume clip and polygon clip.
Query
Pick the Actor in the scene to query the attribute information, and support connecting to PostgreSQL database to query the detailed attribute information of the Actor.
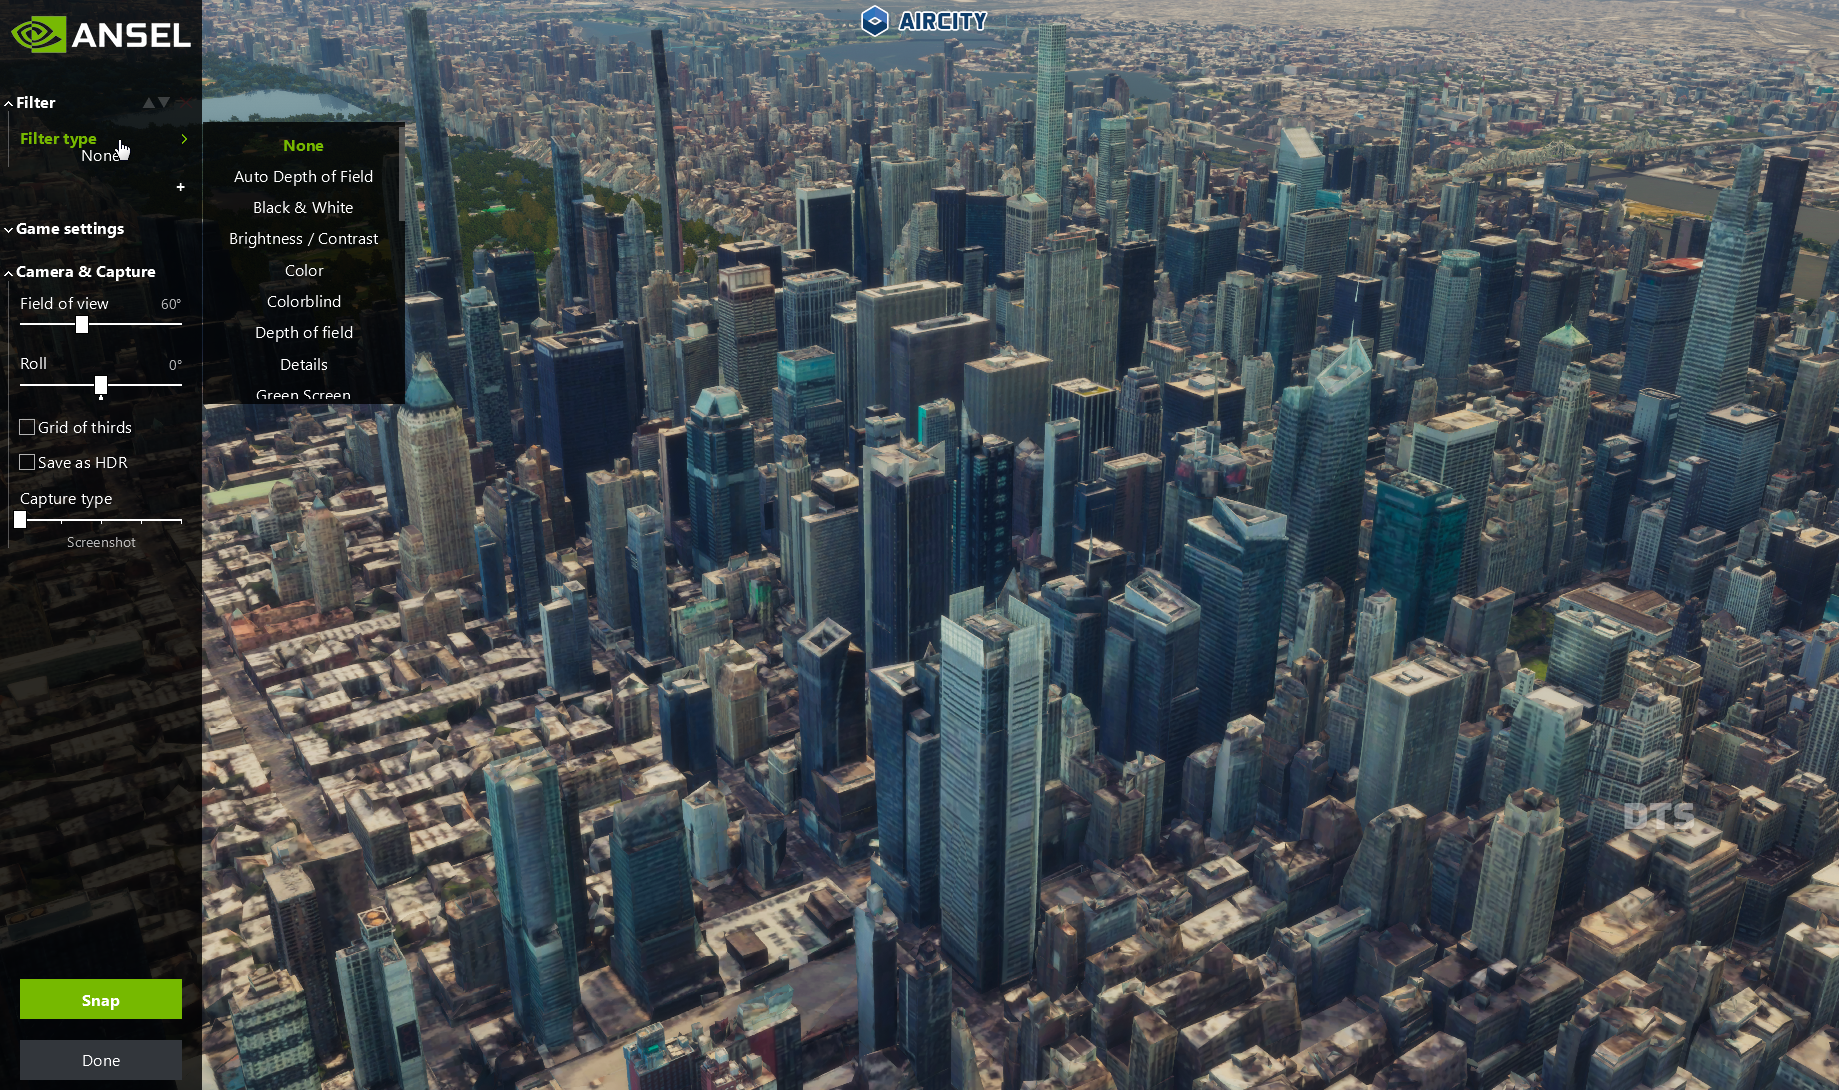
Output
Take professional screenshots with the Nvidia Ansel.
Analysis
Perform multiple spatial analysis in the scene, including viewshed analysis, skyline analysis, view dome analysis, visibility analysis, flood fill analysis, sunlight analysis, cut-fill analysis, terrain slope analysis, and contour line analysis.
Library
Edit and adjust materials of models, and create various library objects in the scene.
Material
Edit and replace model materials and textures.
Vegetation
Plant flowers, trees and other vegetation resources in the scene.
Figure
The figure function is not available yet.
Vehicles
Add various vehicle objects to the scene, such as trucks, cars, buses, etc., and simulate the vehicle driving. The vehicle objects support automatic switching of lights day and night.
Water
Create dynamic water objects in the scene.
Video
Project the video objects onto the models in the scene.
Panorama
The panorama object consists of a CSV coordinate file and panorama pictures or panorama video files. The panorama record information is stored in the CSV file, containing the coordinates, rotation values and storage path of the panorama pictures or panorama video files. Multiple panorama records can be recorded within a single CSV file.

Light
Create light objects in the scene, such as spot light, point light, etc., to simulate real lighting effects.
Marker
Create picture or text marker objects in the scene.
Marker 3D
Create 3D marker objects in the scene.
Decal
Create decal objects on the surface of models in the scene.
Beam
Create beam objects in the scene to simulate light flow.
Radiation
Create radiation objects in the scene to simulate light radiation.
Polyline
Create polyline objects and customize the style in the scene.
Polygon
Create polygon objects and customize the style in the scene.